How Do Push Button Toilets Work?


Push button toilets are a modern upgrade to the traditional lever-flush models. They're sleek, easy to use, and help save water — which makes them super popular in today’s bathrooms. But have you ever wondered what actually happens when you press that button? Let’s take a closer look at how push button toilets work, and what’s going on behind the scenes.


1. What Is a Push Button Toilet?


A push button toilet is exactly what it sounds like — instead of pulling a handle, you press a button to flush. The button is usually located on the top or side of the tank, and it connects to an internal flush valve that releases water when activated.


How Is It Different from Traditional Handle Toilets?


  • Looks more modern and neat


  • Easier to use — just a simple press


  • Often comes with dual flush buttons to save water


  • Works great with concealed or one-piece toilet designs


2. Common Types of Push Button Flush Mechanisms


Not all push buttons work the same way. There are actually four common types of mechanisms that connect the button to the flush valve:


Lever-Driven


When you press the button, it lifts a lever inside the tank. That lever is attached to a chain, which pulls open the flapper (or flush seal) and lets water rush into the bowl.
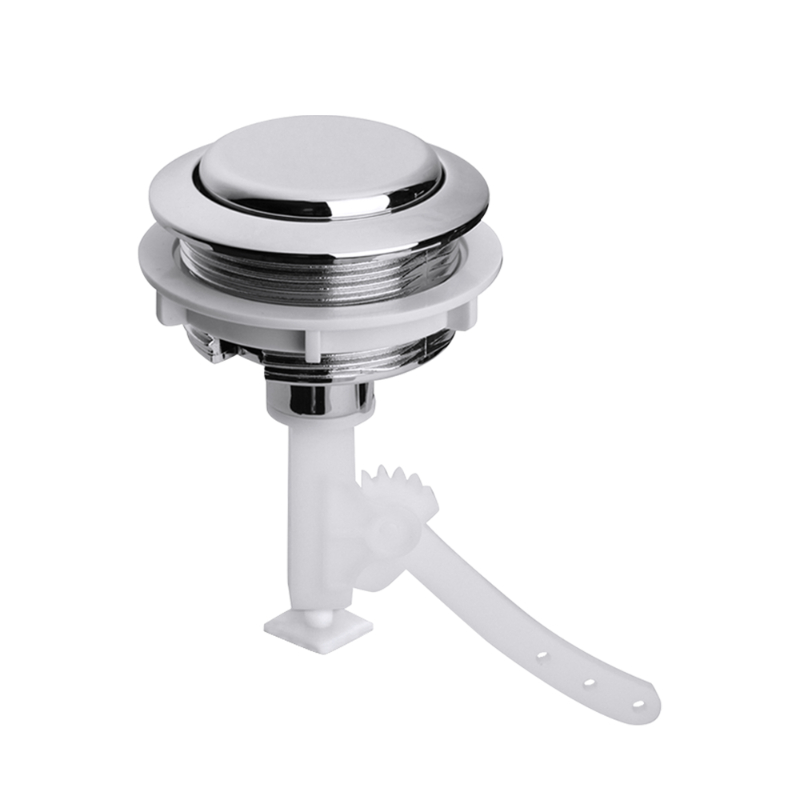
 

push button toilet

Rod-Press


This type uses a rod directly under the button. When pressed, the rod pushes down on the flush valve’s top button, triggering the flush.
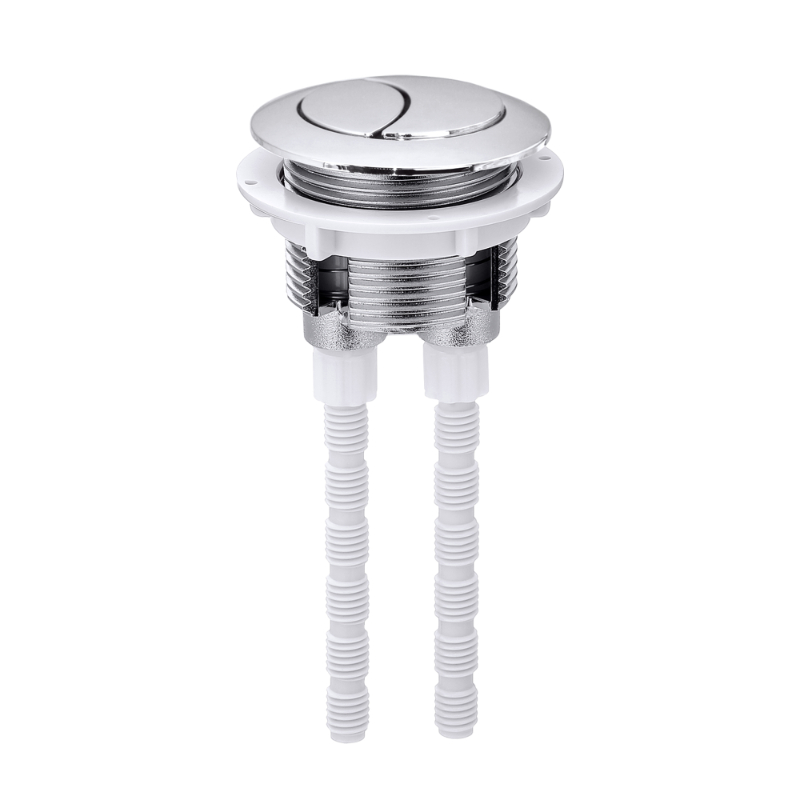
 

flush valves top button


Cable-Control (Wire Pull)


This one uses a thin wire inside a plastic tube. Pressing the button pulls the cable, which opens the flush valve. It's flexible and great for side-mounted or custom installations.
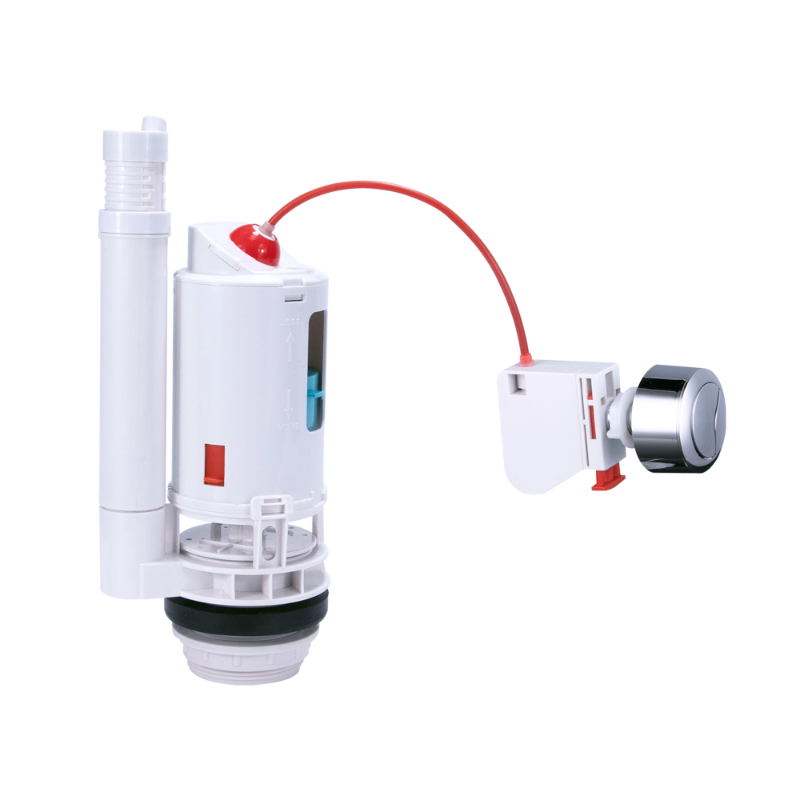
 

Round Push Button Toilet Flush


Air-Driven (Pneumatic)


Here, the button is connected to the flush valve via an air tube. When you press the button, it sends air pressure through the tube, which then opens the valve. This setup is often used in concealed tank toilets.
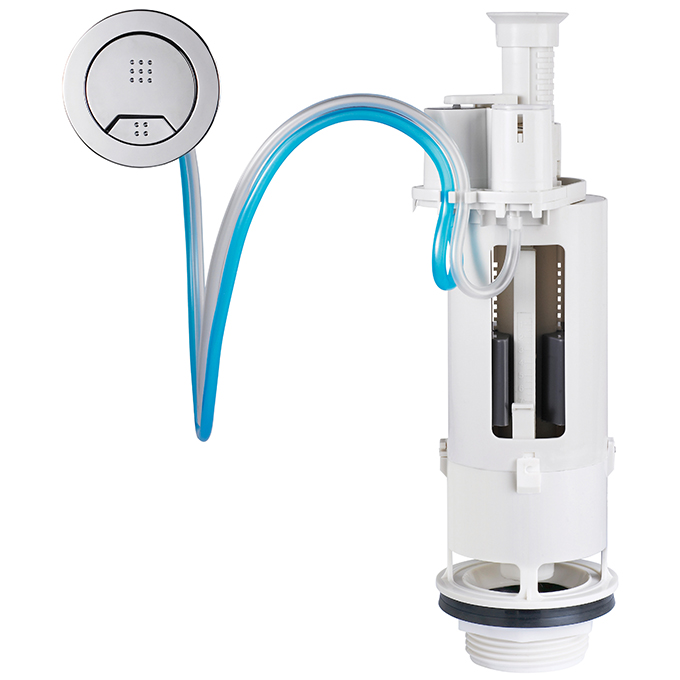
 

Round Toilet Push Button Handle


3. How the Flushing Process Works


Even though there are different mechanisms, the basic idea is the same. When you press the button, you're triggering the flush valve to release water from the tank into the bowl. Here's how each one works:


Lever-Driven: Button lifts the lever → lever pulls the chain → chain lifts the flapper → water rushes out


Rod-Press: Button presses down → rod hits the flush valve button → valve opens


Cable-Control: Button pulls the cable → flush valve opens


Air-Driven: Button pushes air → air activates flush valve → water flows out


After flushing, the valve closes, and the fill valve refills the tank, getting ready for the next flush.

How to change a toilet flush button ?


When your push button toilet starts acting up—whether the button sticks, doesn't rebound, or causes continuous flushing—it might be time for a buttons replacement. Replacing a toilet flush button may sound like a hassle, but it's actually a simple process that most people can do themselves with minimal tools.


Why Replace a Toilet Flush Button?


Over time, flush buttons can wear out or become less responsive. This can lead to poor flushing performance, water waste, or even a broken flush valve button. Replacing the button can restore proper flushing and give your dual flush toilet tank a longer life.


Preparation Before Replacement


You only need a few tools like a wrench and a cloth. Before you begin, identify how the button is fixed in place. There are three common types:

  • Buttons fixed on the push button flush valve
  • Buttons mounted on the toilet tank lid
  • Buttons mounted on the wall or front panel (common in concealed tanks)

You’ll also need to purchase a replacement that matches your existing setup. Make sure to check if it’s a single or two button toilet design, and ensure the button diameter fits your existing opening.


Replacement Steps by Button Type


1. Buttons Fixed on the Flush Valve


These are the simplest to replace.

  • No need to open the tank lid. Just twist the old button to unscrew it from the valve.
  • Insert the new button into the hole and tighten it by turning.
  • This type not only simplifies installation but also helps hold the lid in place securely.


2. Buttons Mounted on the Tank Lid


  • First, remove the lid. If it’s a cable-operated system, press the release clips on the control box to detach it from the button.
  • Unscrew the nut securing the button to the lid and remove the old unit.
  • Insert the new button through the hole, reconnect the rod or cable, and tighten the nut.
  • If the rod is too long and interferes with flushing, trim it with a utility knife.
  • Replace the lid and test the button for smooth operation.


3. Buttons Mounted on the Wall or Tank Panel


  • These are typically found on concealed or in-wall dual flush toilet tank systems.
  • Start by removing the faceplate or cover.
  • Detach the control box or rods from the old button.
  • Unscrew the mounting nut and remove the button module.
  • Insert the new button into the hole, secure it with the nut, and reconnect the control mechanism.
  • Reattach the faceplate and press both buttons to test flush performance.


Common Issues & Troubleshooting


  • Loose buttons after installation: Ensure the nut is tightened securely and that any gaskets are in place.
  • One of the flush options not working: Adjust the cable or rod length to ensure proper engagement with the flush valve.
  • Not sure what button to buy? Choose universal models that match your push button toilet setup in terms of diameter and function.


Conclusion: You Can Do It!


Changing your toilet’s flush valve button is one of the easiest home maintenance tasks. With just a few steps and a proper replacement, your push button toilet will be working like new again. Whether you have a two button toilet or a single-button setup, Jielin offers a range of high-quality buttons for easy replacement.


Need help choosing the right model? Visit our product page to explore our full catalog, complete with specs, images, and installation videos.

How to remove a concealed cistern panel ?


To remove a concealed cistern panel (commonly part of an in-wall toilet system), follow these steps based on repair guides and installation manuals from multiple sources:


Step 1: Identify the Panel Type

Concealed cistern panels vary by design:

Push-button panels: The flush button often doubles as a removable cover. Some models require twisting or prying the button out.

Flat panels: Look for hidden screws, clips, or adhesive seals around the edges.


Step 2: Prepare for Safe Removal

Turn off the water supply: Locate the shut-off valve near the cistern or main water line to prevent leaks.

Empty the cistern: Flush the toilet to drain water. Use a sponge or towel to remove residual water if needed.


Step 3: Remove the Flush Button or Cover

For push-button systems:

Press and hold the button, then twist counterclockwise or pry it out with a flathead screwdriver (insert into side grooves).

Some models require lifting the button upward while gently pulling.

For screw-fixed panels: Remove decorative caps (if present) to expose screws, then unscrew them.


Step 4: Detach the Panel

Unclip or unscrew:

Clip-fastened panels: Insert a plastic pry tool or flathead screwdriver into the gap between the panel and wall. Gently lever outward to release clips.

Adhesive-sealed panels: Slice through silicone or caulk with a utility knife to avoid damaging the wall.

Lift carefully: Once clips/screws are removed, tilt the panel slightly and lift it away from the wall. Avoid forcing it, as internal components (e.g., flush valve, fill valve) may still be connected.


Step 5: Access Internal Components

After removing the panel:

Inspect and repair parts like the flush valve, fill valve, or water supply lines.

Reassemble by reversing the steps, ensuring clips/screws are securely fastened and seals are intact.